Rebuilding Emojinate
This is a somewhat technical post about building Emojinate using React Native on the Expo platform. This project is open source, so you can check out the source code.
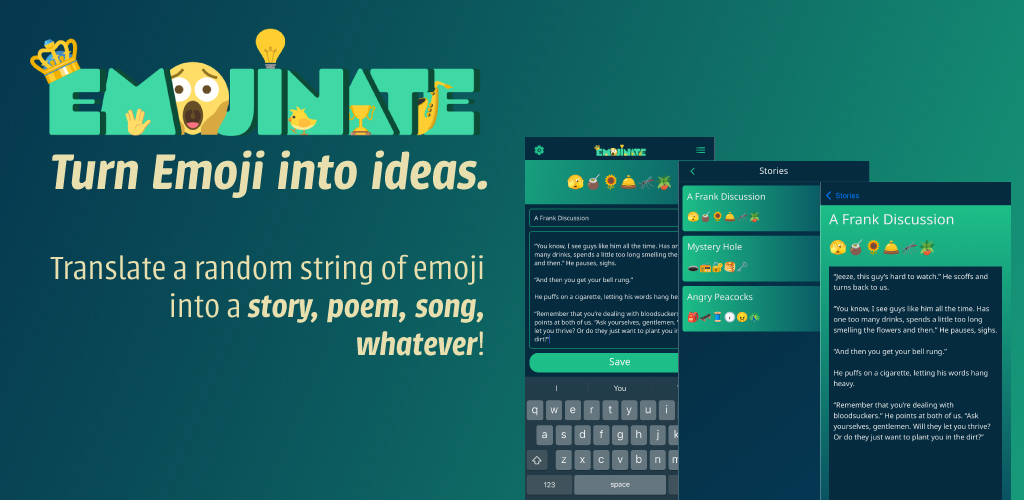
You can also read more about the origins of Emojinate.
From Meteor to React Native
The 2015 web application version of Emojinate was built using Meteor and it came with a sharing and voting system that provided users with real-time updates. These features required a hosted database for user-management and authentication which cost money to maintain.
I need Emojinate to be simple and free for everyone to use for as long as possible, so I removed the sharing and voting systems to eliminate any operating costs. I also need Emojinate’s main focus to be on writing; the voting system proved to be a distraction. Lastly, I need Emojinate to work offline. I often want to use it in places where I don’t have great internet connection.
Based on these requirements, I determined that Meteor was no longer the right tool and decided to switch to React Native.
Using Expo
Expo is a platform for managing your React Native application builds. It’s a great tool for simplifying the React Native development process, though you will find some people who prefer the use of React Native CLI. As this is a very simple project without the requirements of any native modules, Expo was the right choice.
Expo Router
If you’re coming from the React web-development world, you’re probable used to React Router to do client-side routing to different pages of your application. In React Native the concept is similar; instead of routing pages you’re routing screens, which can stack on top of (or below) each other.
This project uses Expo Router to navigate between screens, though Expo supports React Navigation as well. Expo Router admittedly has some weirdness, and many people prefer to use React Navigation. Nonetheless, I decided to “embrace the ecosystem” and use Expo Router.
Layouts
The main app/_layout.tsx file is our application’s entry point. It contains
the <KyselyProvider> component, which is used to connect to the database and
run any SQL migrations if necessary.
export default function RootLayout() {
  const { background } = useThemeColors();

  return (
    <KyselyProvider<Database>
      database={DATABASE_NAME}
      autoAffinityConversion
      debug={__DEV__ ? true : false}
      onInit={async (database) => {
        try {
          await getMigrator(database).migrateToLatest();
        } catch (err) {
          console.error({ err });
        }
      }}
    >
      <SafeAreaView
        style={{ flex: 1, backgroundColor: background, paddingBottom: 10 }}
      >
        <Stack
          screenOptions={{
            headerShown: false,
            headerTitleStyle: {
              fontFamily: "NotoSans-Regular",
              fontWeight: "bold",
            },
          }}
        >
          <Stack.Screen name="(main)" />
        </Stack>
      </SafeAreaView>
    </KyselyProvider>
  );
}
It also provides the main <Stack> of our application, which is just one group
of screens called (main).
The app/(main)/_layout.tsx file is the layout for the (main) stack. It
consists of 4 screens: index, settings, list.
Lastly, there is a /app/(main)/post/[id].tsx file which is the layout for
the post screen, used to display a single post.
Index Screen
This is the main screen that shows the list of Emoji and has two text inputs: one for the story title and one for the story content.
The <EmojiList/> component is wrapped inside of a <RefreshControl>.
...
<ScrollView
  style={styles.emojiContainer(themeColors)}
  refreshControl={
    <RefreshControl
      refreshing={refreshing}
      onRefresh={() => {
        setRefreshing(true);
        store.resetEmojis();
        setRefreshing(false);
      }}
    />
  }
>
  <EmojiList />
</ScrollView>
...
When the <RefreshControl/> is pulled down, store.resetEmojis() is called.
This is a mobx action that updates our application’s state. Let’s take a look at the store.
Application State
Application state is managed using the mobx library. The
/app/(main)/_layout.tsx file contains the React Context that provides the
store to the application.
The Store
The store is responsible for keeping track of all of our application’s state.
It consists of Observable values can be observed by different parts of our
application; when an observable value changes, any component that is observing
it will be recomputed.
// state/store.ts
export class Store {
  @observable emojiLength = 5;
  @observable visibleEmoji = [] as Emoji[];
  @observable posts = [] as Post[];
  @observable excludedGroups = defaultExcludedGroups;
  @observable emojiGroupNames = emojiGroupNames;

  constructor() {
    makeObservable(this);
    this.fetchSettings();
    this.fetchPosts();
  }

  // actions and views are defined here
  ...

}
Here we define some values that we want to be able to use in different parts of the application.
emojiLength: The number of randomly generated emojis to show on the main screen.
visibleEmoji: This is an array of the Emoji that are visible on the screen.
Each Emoji consists of a base and shortcode property.
posts: A users saved stories. These are fetched from the database when the
application loads. this.fetchPosts() calls an action that queries the local
database and writes the response into this observable value. More detail on
fetchPosts() and actions in general below.
excludedGroups: User’s can exclude groups of Emoji from being randomly selected. This is an array of excluded group names. ‘Flags’ and ‘Symbols’ are excluded by default.
emojiGroupNames: A list of all the group names found in the emoji.json
file. Doesn’t really need to be observable and the value never changes.
Then the store is initialized in the app/_layout.tsx file, the actions in
the contructor are called.
Actions
Here is what the fetchSetting action looks like.
// state/store.ts

export class Store {
  ...

  @action
   async fetchSettings() {
     const settings = await fetchSettings();
     if (settings) {
       runInAction(() => {
         this.emojiLength = settings.count;
         this.excludedGroups = settings.excludedGroups;
         this.resetEmojis();
       });
     }
   }

  ...
}


// data/database.ts
export const fetchSettings = async () => {
  return db.selectFrom("settings").selectAll().executeTakeFirst();
};
Note that runInAction is used because this is an asynchronous function. There
should only be one row in the settings table, so we use executeTakeFirst in
the fetchSettings function.
The fetchPosts action is similar to fetchSettings.
Computed Views
mobx has a nice feature called computed values; these are values that are
derived from values in your application’s store. When the underlying store values
change, the computed values will get recomputed automatically; any component
that is observing the computed value will be updated.
An example of a computed view is the postsByDate view:
//state/store.ts
@computed
get postsByDate() {
  return this.posts.slice().sort((a, b) => {
    return (
      new Date(b.created_at).getTime() - new Date(a.created_at).getTime()
    );
  });
}
When the application loads, fetchPosts is called and writes the response to
the posts observable value, represented by this.posts. We must use slice() to
create a copy of the array because sort mutates the original array, which is not
allowed as all values in mobx are immutable by default.
Now, whenever a new post is created and this.posts is updated, the postsByDate
view will be recomputed, and the list screen will update.
Using The Store
When the app loads, the store initializes and is put inside of a React Context.
// state/store.ts
const store = new Store();
export const StoreContext = React.createContext<Store>(store);
export const useStore = () => React.useContext(StoreContext);
We can now import useStore inside of components that need be able to interact with the store.
// components/EmojiList.tsx
export default observer(function EmojiList() {
  const store = useStore();
  const { visibleEmoji } = store;

  return (
    <Flex
      direction="row"
      align="center"
      justify="center"
      style={styles.container}
    >
      <EmojiText emojis={visibleEmoji} style={styles.emoji} />
    </Flex>
  );
});
Note that the EmojiList function component is wrapped in an observer, which
is imported from mobx-react-lite. The observer tracks that we are using the
visibleEmoji value from our store (which is a computed value!). Under the
hood, this component will now update whenever visibleEmoji changes in the
store.
If you recall back up in the Index Screen section, EmojiList
is wrapped in a RefreshControl; when the RefreshControl is refreshed (the user
pull down the screen), the store.resetEmojis() action is called. This updates
visibleEmoji, and the EmojiList component is updated.
The benefit of using a global store and sticking it inside of a React Context is
that we don’t have to pass any props or do any prop-drilling. Notice that
EmojiList has no props!
Wrap Up
Overall this was a great project to work on and a lot of fun to rebuild. React Native and Expo are great tools, and I’m thankful to all of the open-source maintainers out there.
As a reminder, the code to this project is available on GitHub. If you want to download the production versions, you can do so from the Play Store or the App Store.